
In this Harley Benton CST-24T kit project part 2, I focused on the paint job, headstock finish, and the striped design that gives this DIY guitar its personality. Things did not go exactly according to plan, but that also made this part of the build much more interesting.
They were wrong. #DIYKitChallenge22
Disclaimer: Harley Benton invited me to be part of their DIY Kit challenge, and I got monetarily compensated for my efforts. However, whether the video/post was sponsored or not, the company has no say in what I talk about in the video/post nor do they get to see the content before it is released.
Harley Benton CST-24T Kit Build Series: Part 1 | Part 2 | Part 3
What Is DIY Kit Challenge?
Harley Benton held a DIY Kit Challenge in spring 2022 where both influencers and customers could take one of Harley Benton’s DIY kits and turn it into something unique. The goal was not just to assemble the kit, but also to do finishing work and modifications to create an instrument that looked and felt personal.
What happened in Harley Benton CST-24T kit project part 1?
I have built 2.5 guitars from scratch before. The half comes from the fact that the latest one is still unfinished. The other guitars were painted in spaces that were actually meant for spraying lacquer and paint.
This project was different.
Because this was a DIY challenge, I wanted to stay true to the spirit of it and do the paintwork in the kind of place most participants would realistically use: a spare room, a garage, or maybe even a tent. My mother-in-law kindly offered me a spare bedroom and even helped set it up for the job, which was incredibly nice of her.
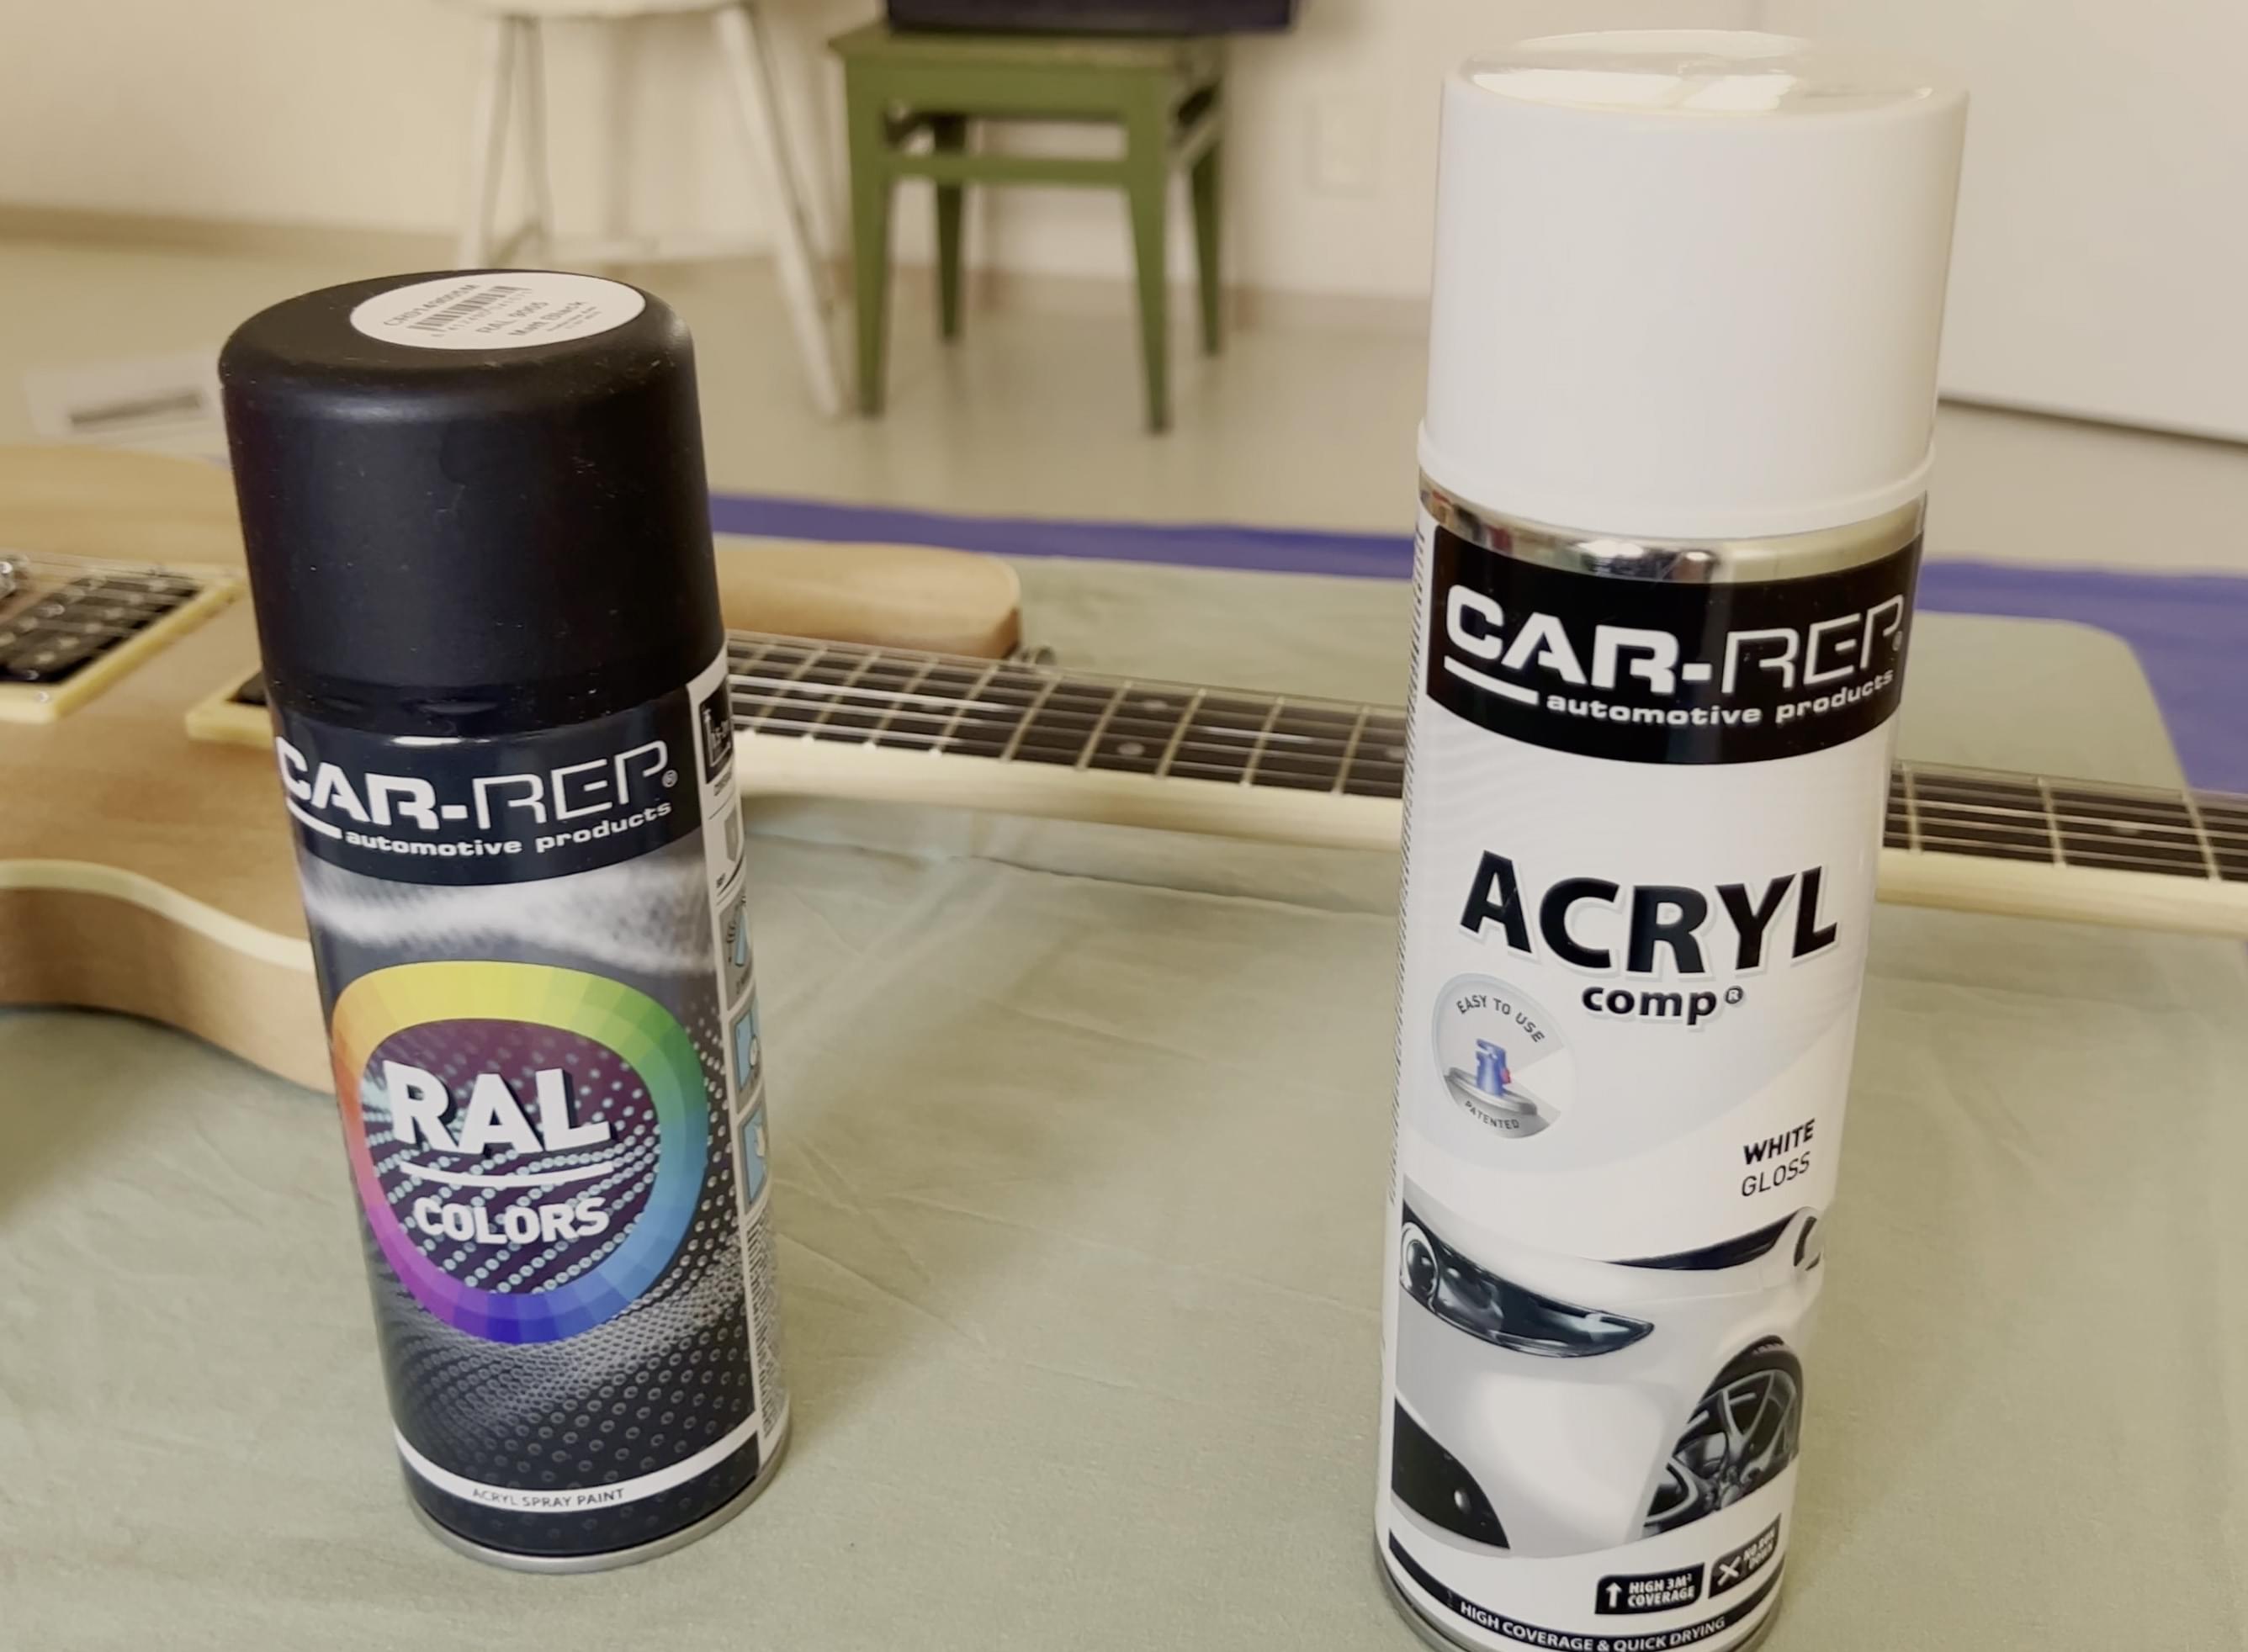
Paint and supplies for the Harley Benton CST-24T kit
I did not have an air compressor or any kind of more professional painting setup available, so spray paint and spray lacquer were the only realistic options. I spent quite a bit of time researching different products and asking around on guitar forums to find combinations that should work together.
In the end, I landed on a few spray products that were basically meant for painting cars.
The four spray cans I got were:
The 4 spray cans I got were:
- 2K clear coat
- neon pink spray paint
- black spray paint
- white spray paint
The helpful people at the local store took the time to make sure these products should work together, which I really appreciated. On top of that, I bought a ridiculous amount of sandpaper in different grits and a bunch of other small things I knew I would need before the project was done.
The room where it happens
Besides bringing in a bunch of tools, I also brought my Triad-Orbit stand so I had something to hang the guitar on while spraying and drying it. My mother-in-law had already covered most of the surfaces in the room, so I was pretty much ready to go.
Before any painting could begin, though, I had to take the whole guitar apart.
Sand, Spray, Repeat
As I mentioned in the first part of the build series, the body already had grain filler and primer on it. Even so, I could still feel a few rough spots here and there. Leaving those alone would almost certainly have caused problems later, so I had no choice but to sand the body more before moving forward.
I did not want to paint the neck itself, but I did want the headstock to be black. Since the neck and headstock already seemed to have a pretty even lacquer layer on them, I felt comfortable starting on the headstock right away.
Things Go Very Wrong And My Plan B
Just as I was about to spray the first base coat onto the guitar body, the cap of the spray can snapped and I got lacquer all over my hands. Since it was Easter Saturday in Finland, the stores were then closed for the next couple of days.
Not ideal.
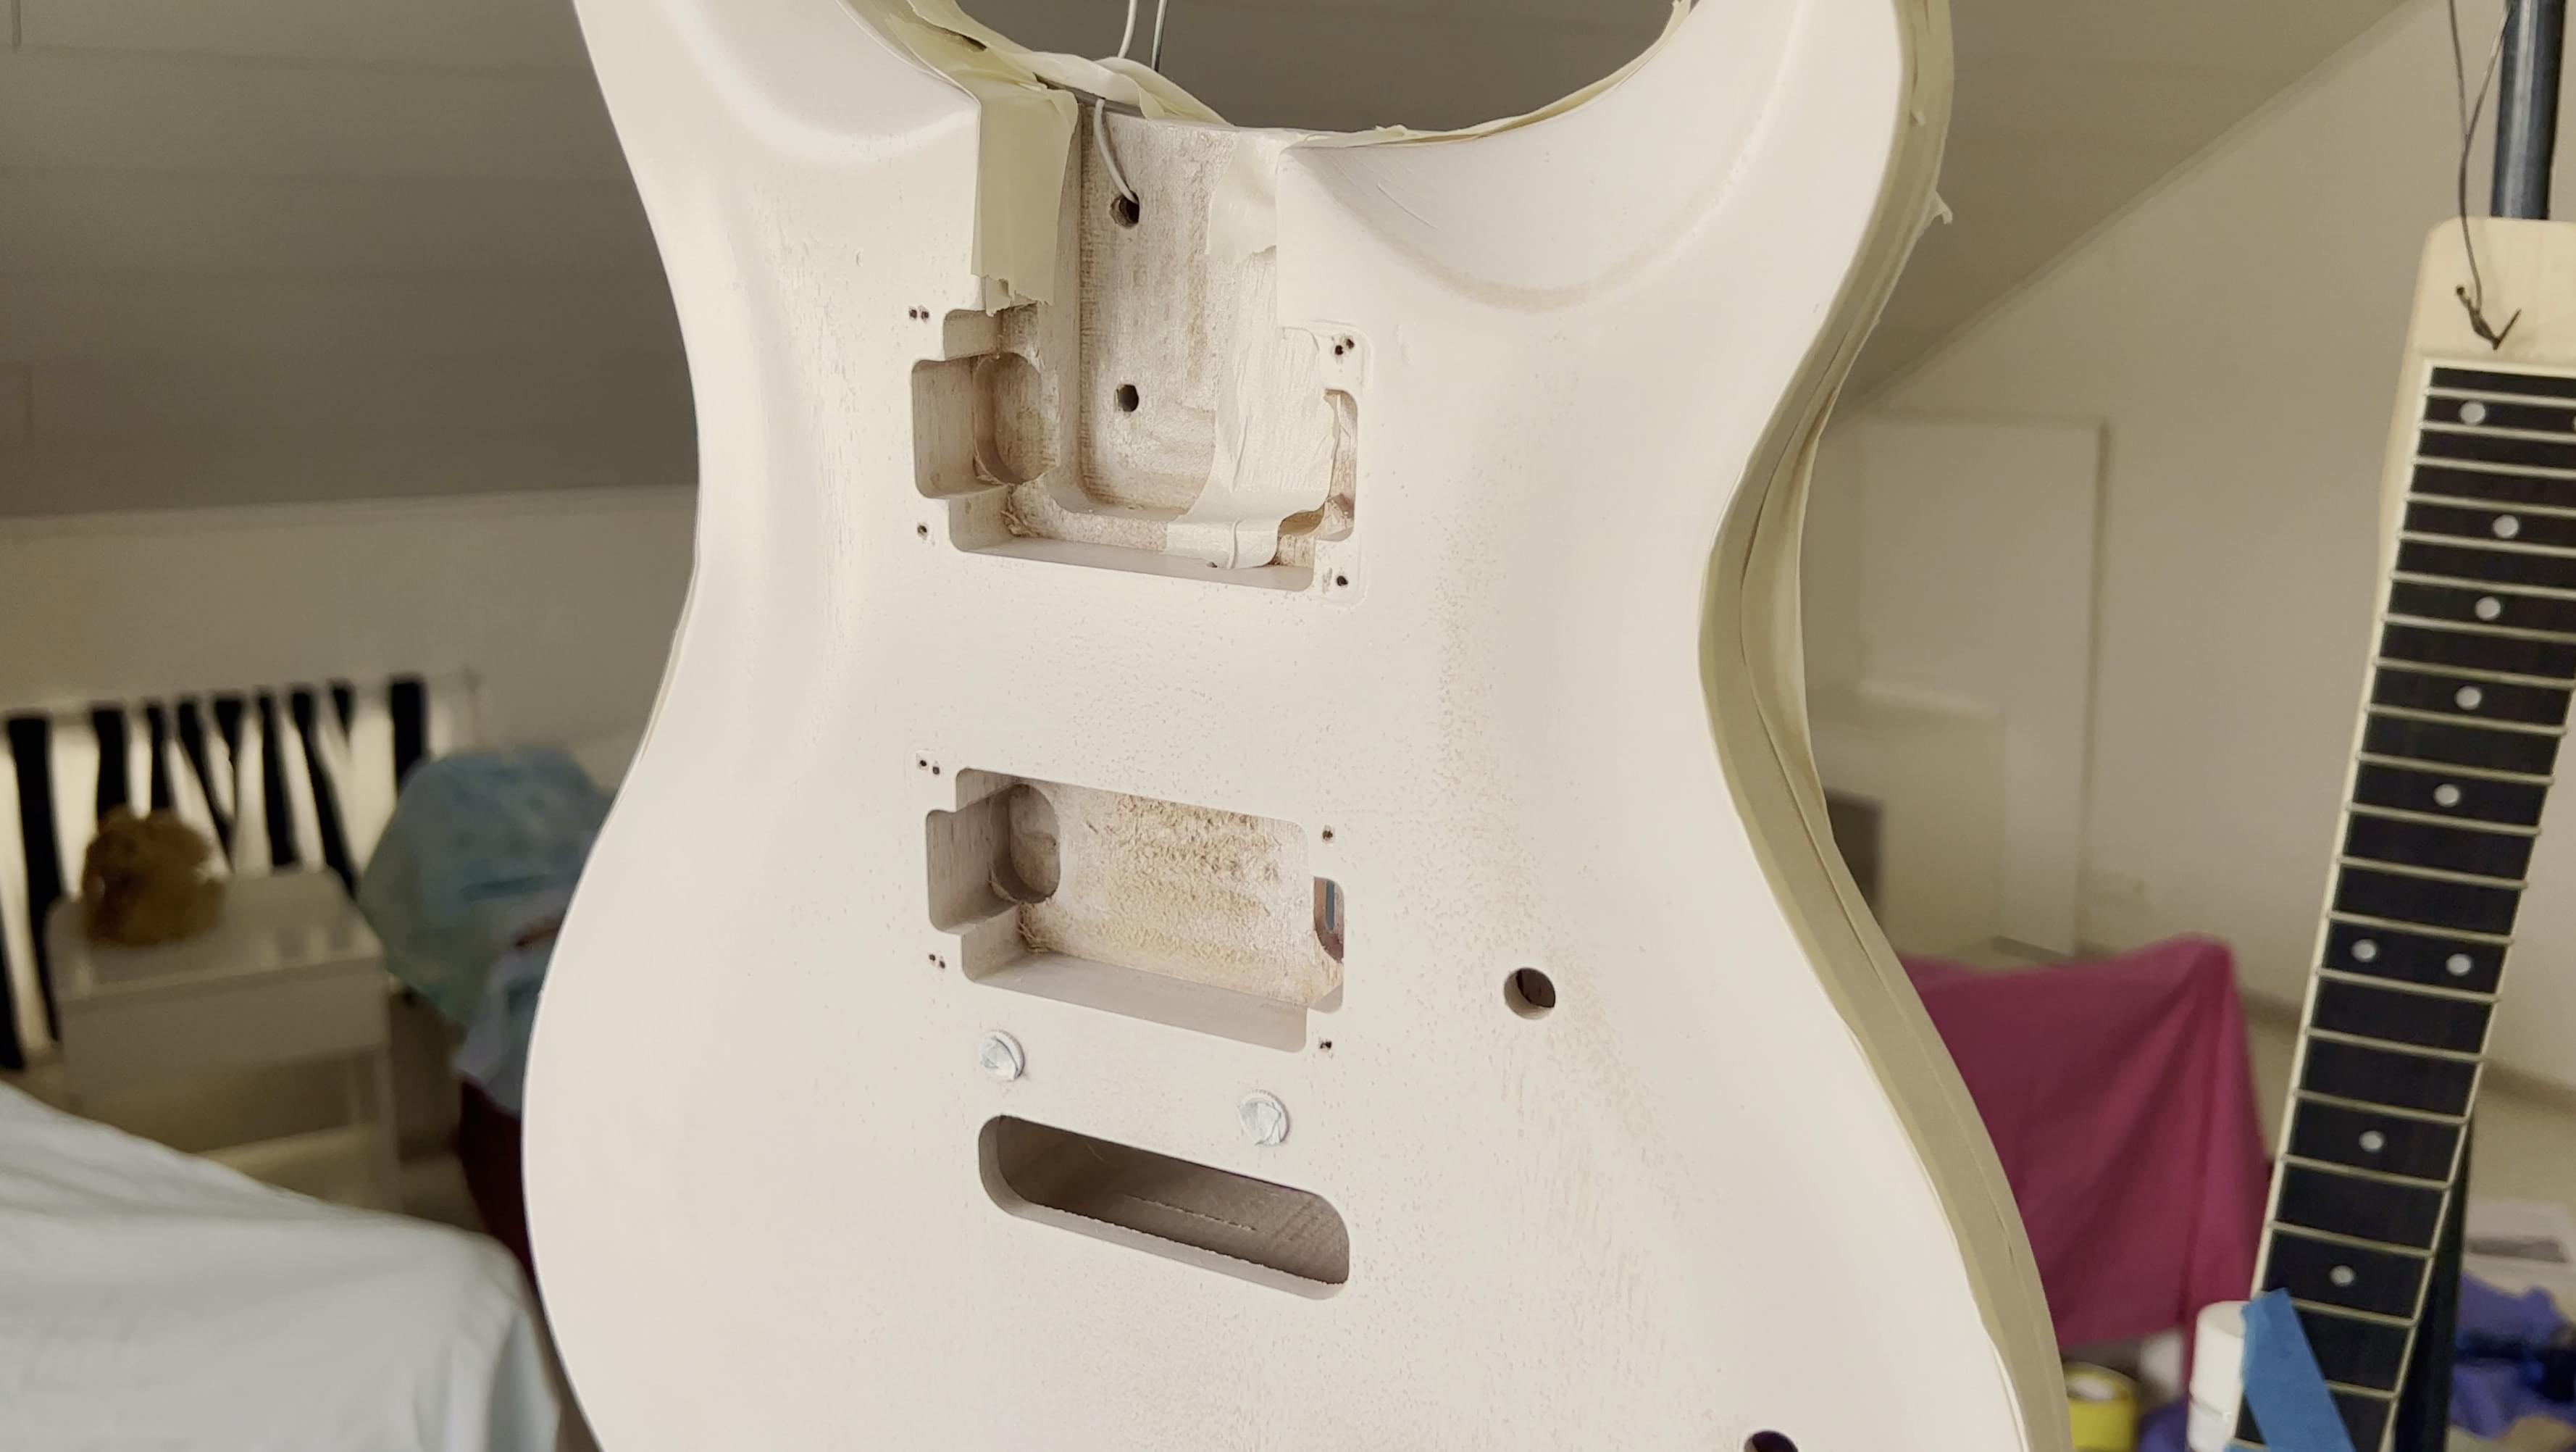
Because I still had to get the project finished on time, I moved to plan B. I skipped the extra lacquer layer I had originally planned to apply, taped off the areas I did not want to paint, and started working on the white paint for the top.
Before that, I did a few test sprays with the black paint on a piece of wood just to get a better feel for the cans and make sure I would not apply too much paint.
I sprayed the first black layer on the headstock and let it dry for a while. About 30 minutes later, I added a second layer and then moved on to the white paint on the guitar body. I started with white because that felt like the best way to get to the design I had planned in the previous part.
After applying the color coats, I left the guitar to dry for 24 hours.
I sprayed the first layer of black on the headstock and left it to dry for a little while. After spraying a second layer 30 minutes later, I proceeded to spraying white paint on the guitar body. I started with the white paint because I figured it would be the best way to achieve the design we saw in the previous part. After applying all the color layers, I left the guitar to dry for 24 hours.
Day 2 of the paintventure
Examining the guitar top the next day reminded me why it would have been nice to be able to apply at least one clear coat layer before spraying on paint: there were visible inconsistencies in the paint job. This happens because some of the pores of the wood suck in a lot of paint, resulting in an uneven surface. To fix that, I will have to sand some of the paint off and apply more paint layers.
The top of the headstock looked great, but I want to apply at least one more paint layer just to make sure the paint layer isn’t too thin. I’ll also start looking for a water decal to have my logo on the headstock, but more on that in the last part of the series.
After sanding the body and the headstock, I proceeded to apply more paint on them and let them dry.
Day 3 of the paint extravaganza
By day three, the guitar body was looking pretty good overall, even though there was still a bit of orange peel. There were also still some inconsistent spots near the lower part of the body.
Most of it looked good, though.
Because I was working against the clock, I decided I would have to work around the weaker areas rather than chase perfection. The plan was to mask off the better-looking parts and cover the rougher sections with the pink and black parts of the design.
Paint it pink
After another round of sanding, I asked my wife to help me with the stripe design.
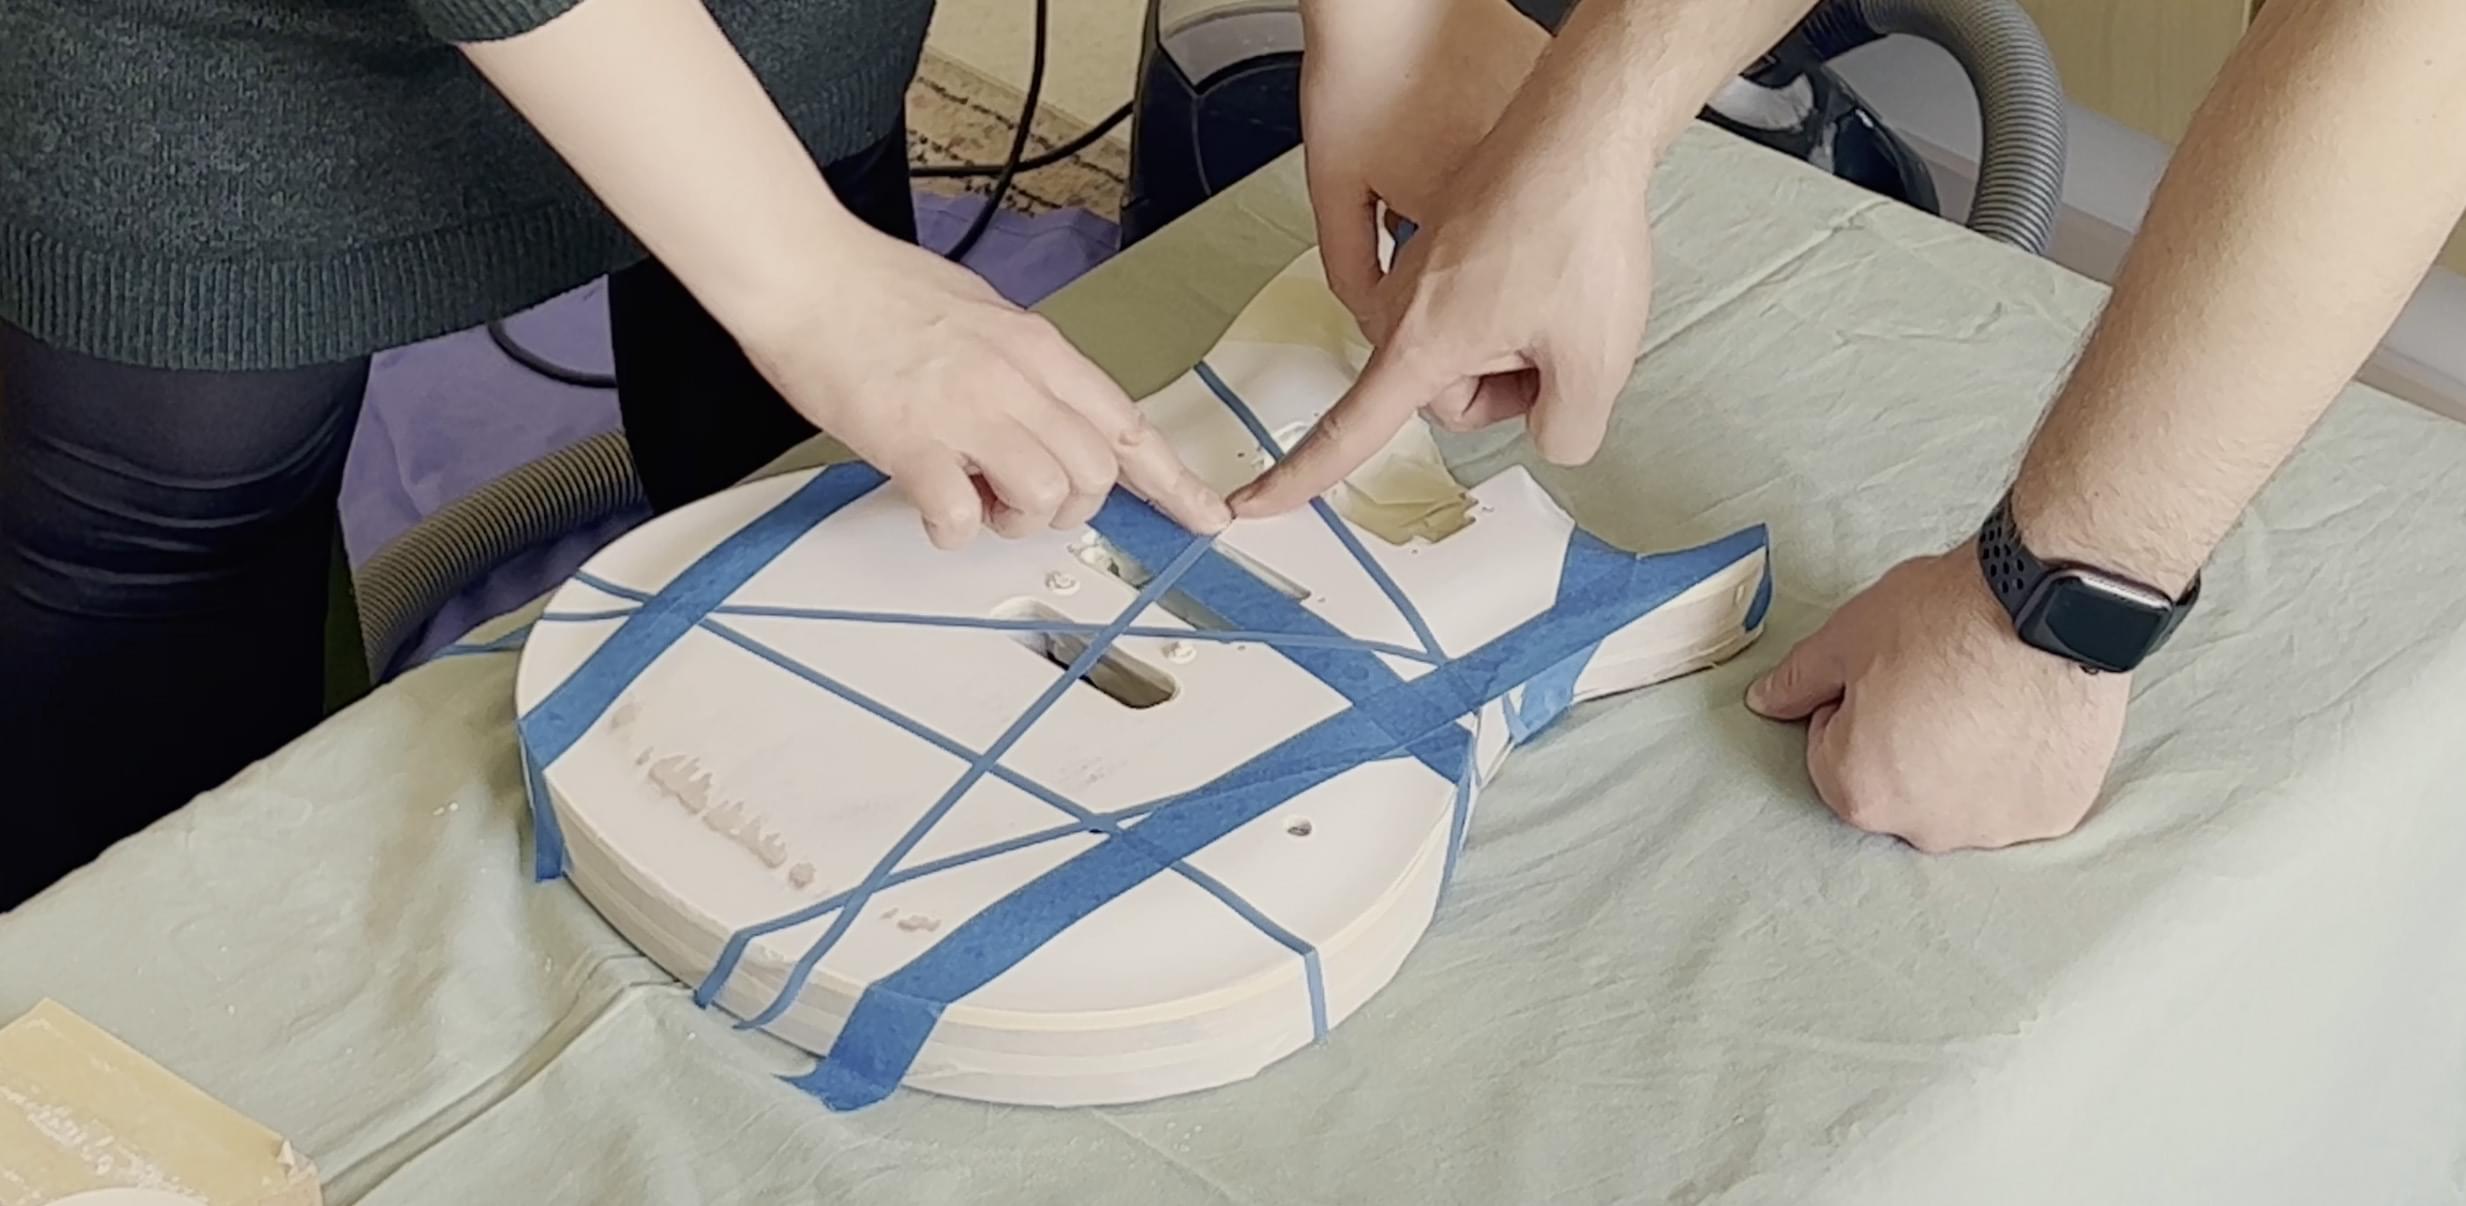
EVH-style stripes may look random, but making them look good is surprisingly difficult. We had three different widths of masking tape, and we tried to use them in a way that looked balanced while also helping me avoid the parts of the finish that were less successful. Having a second opinion here was genuinely helpful.
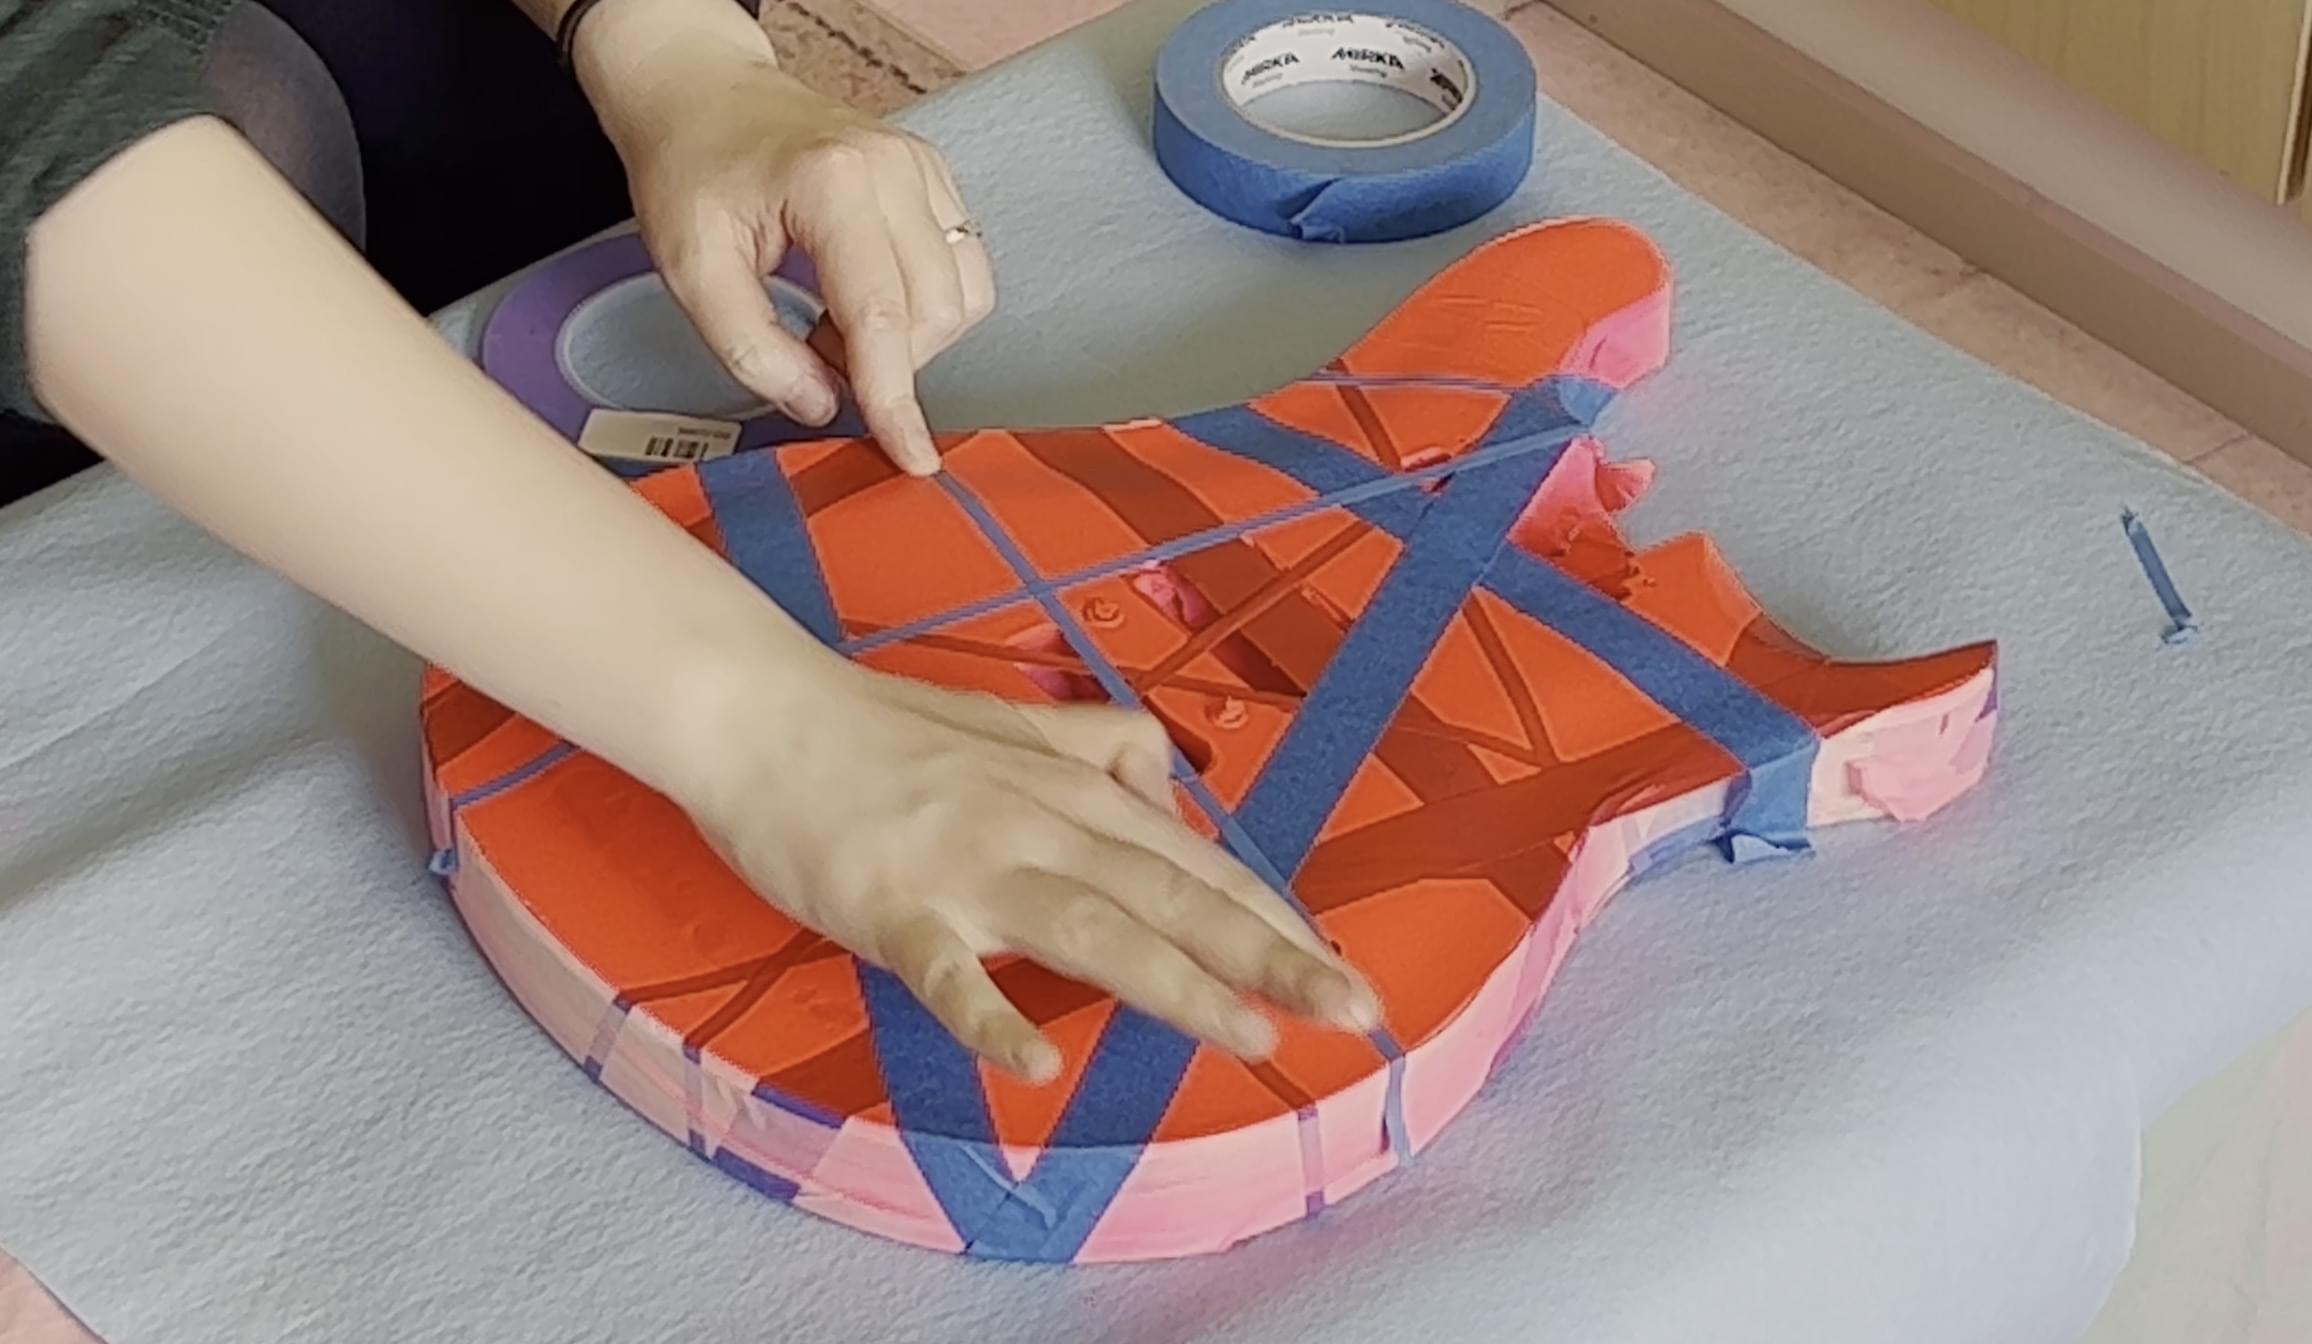
Before spraying the pink, I once again had to mask all the areas I did not want to paint. I also made sure all the tape was firmly in place, because if any of it lifted during drying, that could have ruined the whole thing.
Then it was time for the pink paint.
Take off that mask(ing tape)!
Once the pink layers had dried, we did another round of taping and I sprayed the black layers onto the guitar body. At that point, the dry body looked like some kind of black mummy waiting to be unwrapped.
And that was exactly what we did next.
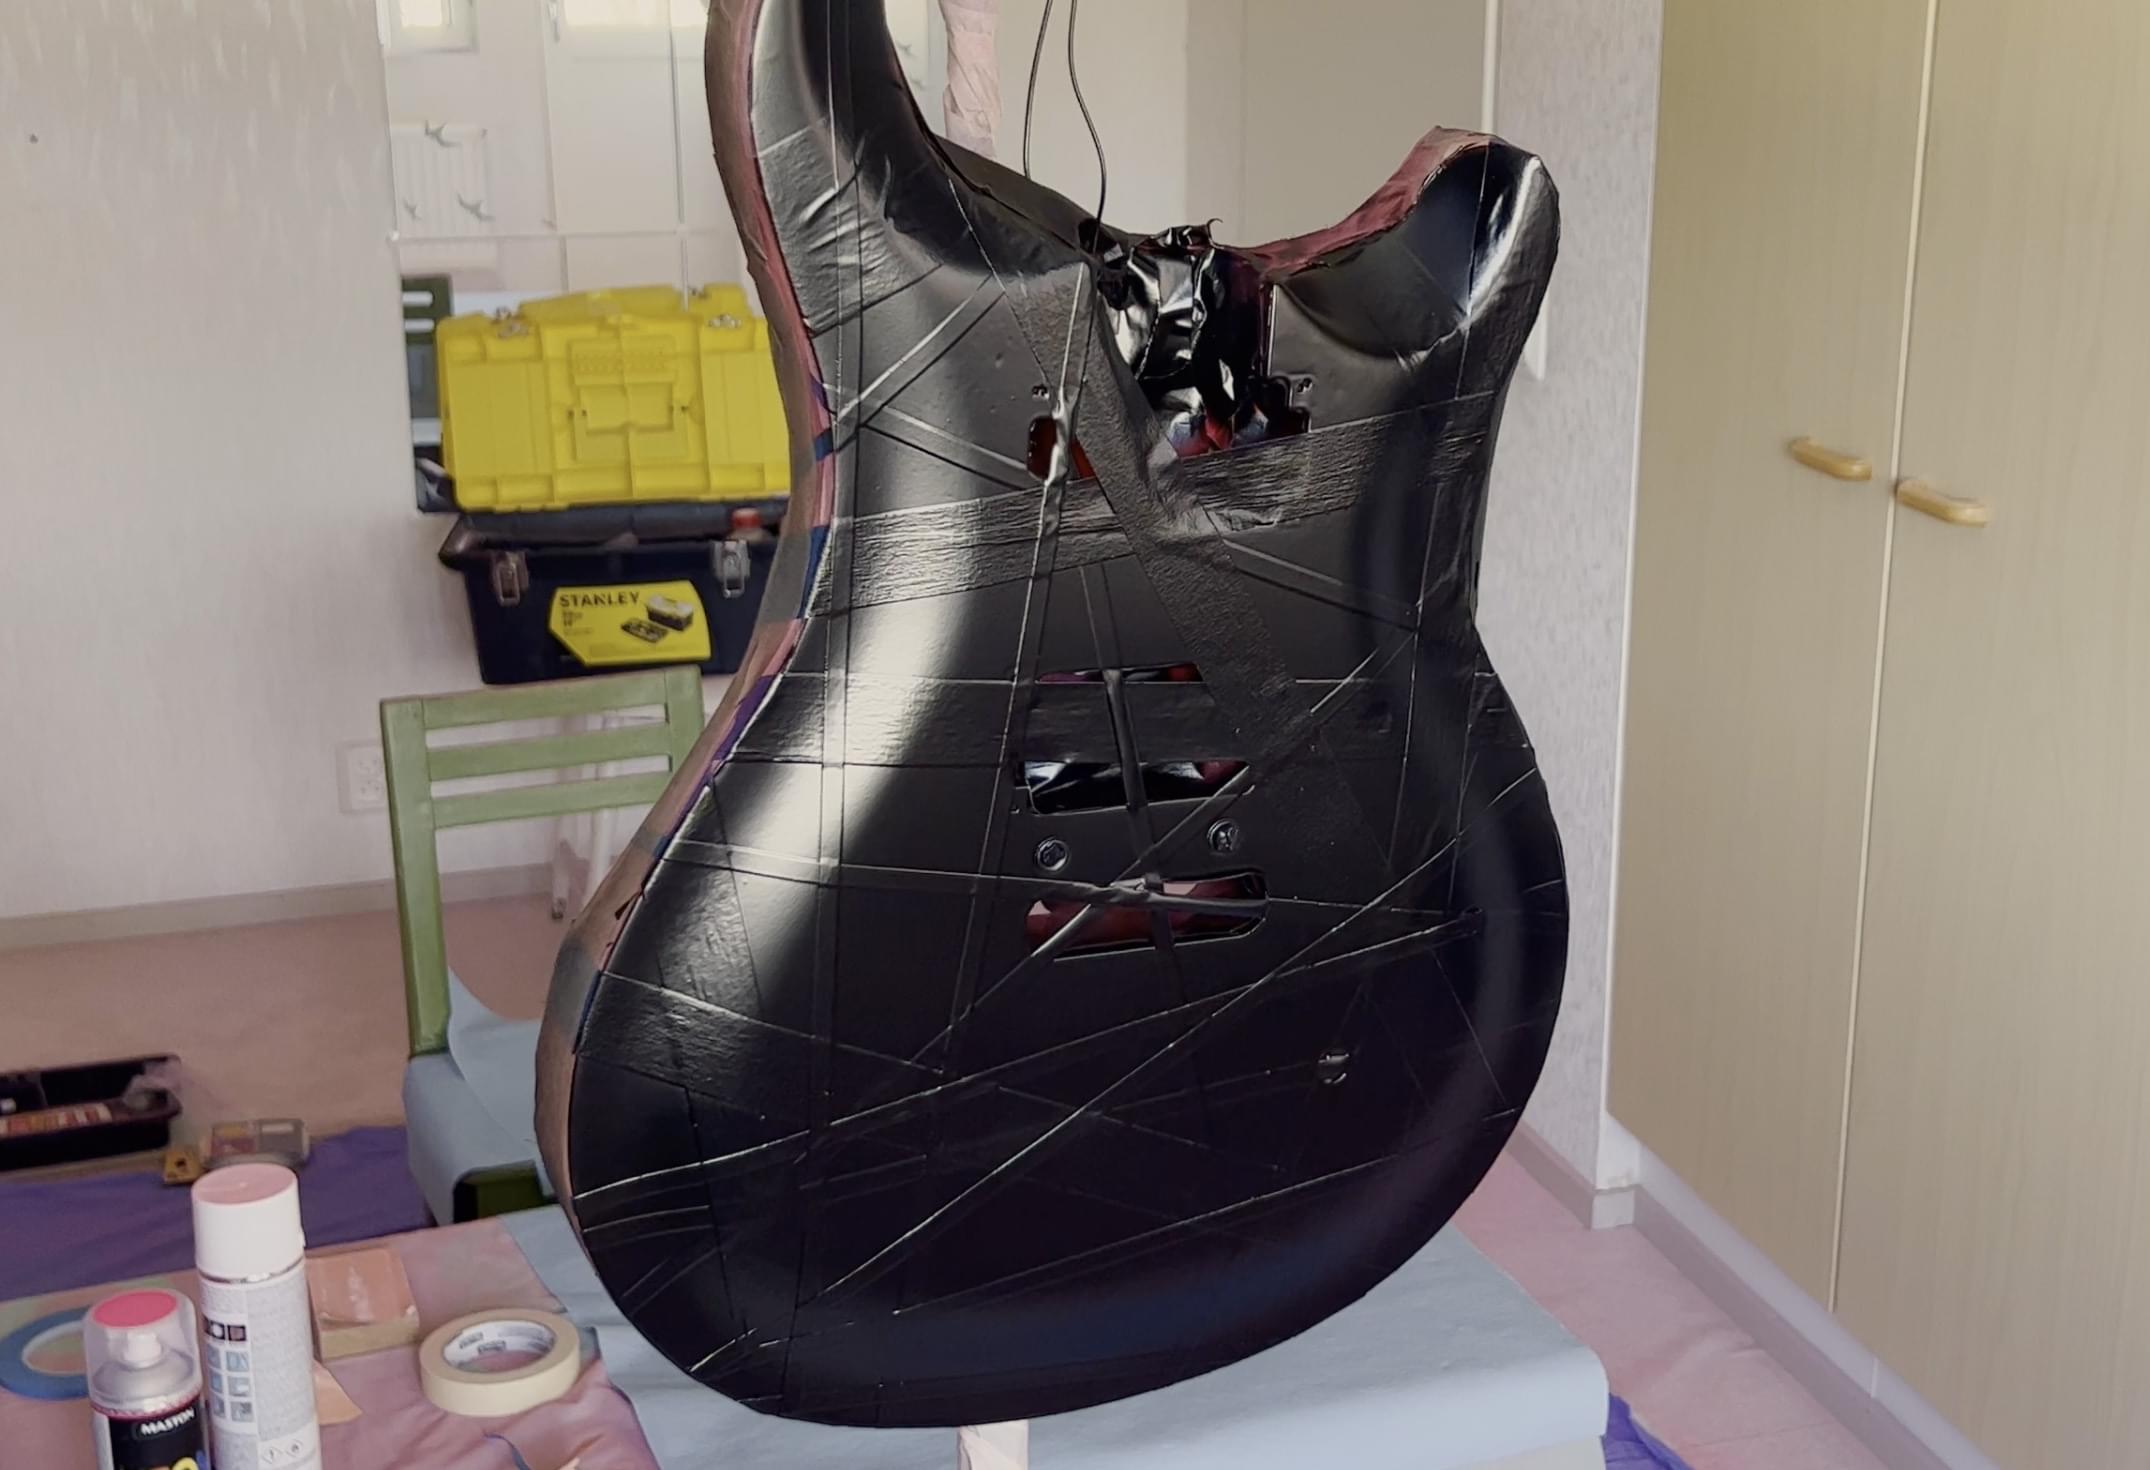
This was the moment of truth, because the whole project really lived or died based on how the body design turned out. The paint also had not fully cured yet, so we had to be extra careful while peeling off the tape one strip at a time.
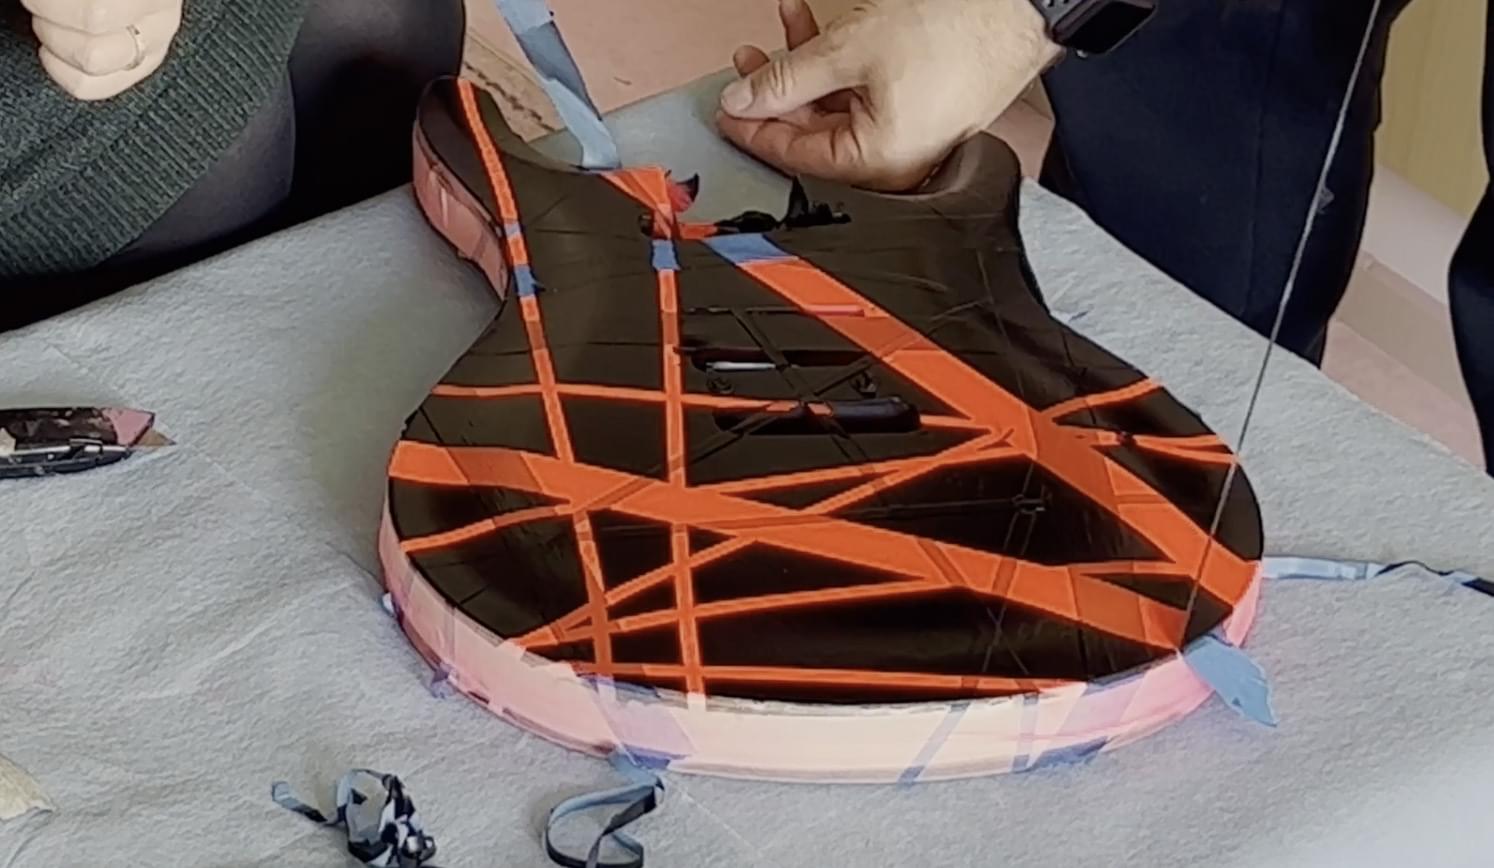
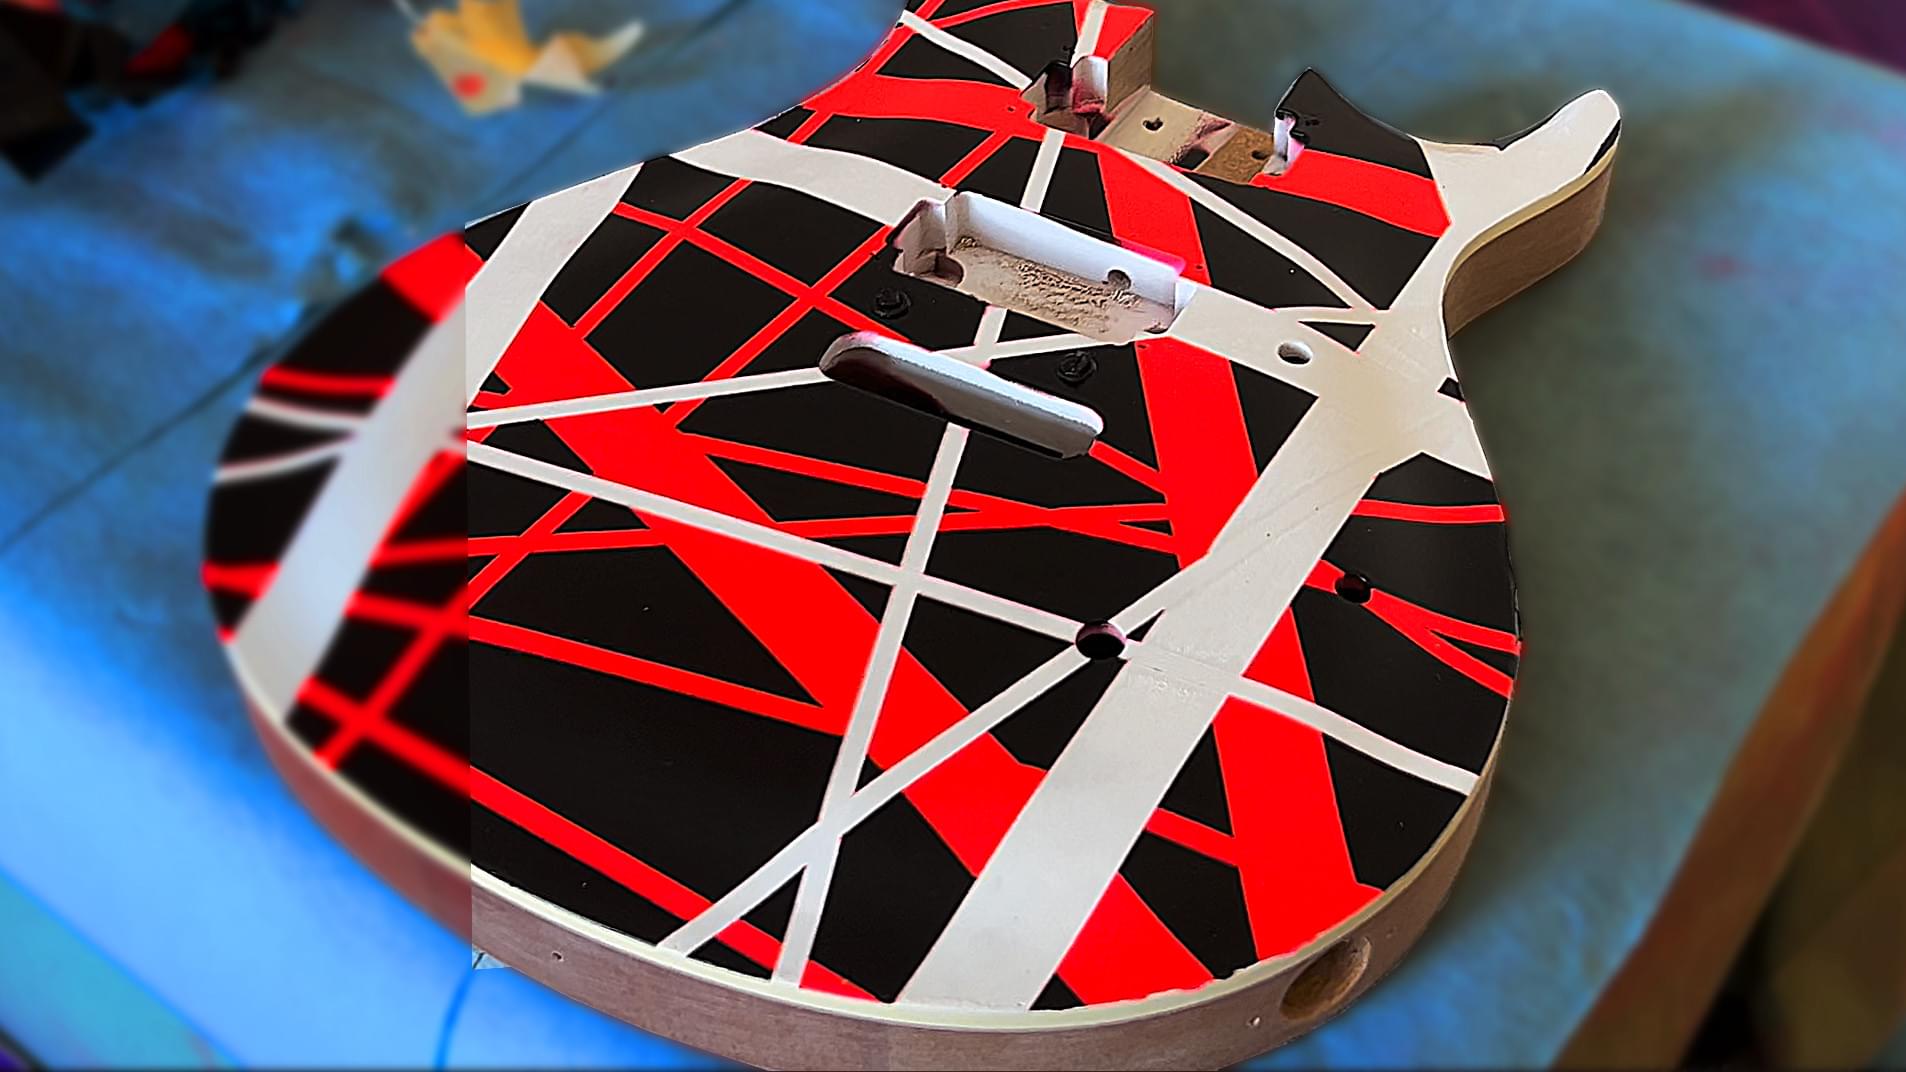
The finished body ended up looking even better than I had hoped. For some reason, the neon pink actually looks more red on this guitar, which worked out really well. Somehow I managed to land pretty close to both the EVH-style look and the color scheme I had in mind.
There is still a lot of scraping and a bunch of smaller cleanup work left to do, but overall I was incredibly happy with how the guitar body turned out.
In the next part, we’ll add the finishing touches and put the whole guitar together.
If you’re interested acquiring your own Harley Benton DIY kit and support what I do, you can find affiliate links here:
►►Harley Benton DIY Kits: https://thmn.to/thocf/cq3g0p7wzj
Leave a Reply
You must be logged in to post a comment.